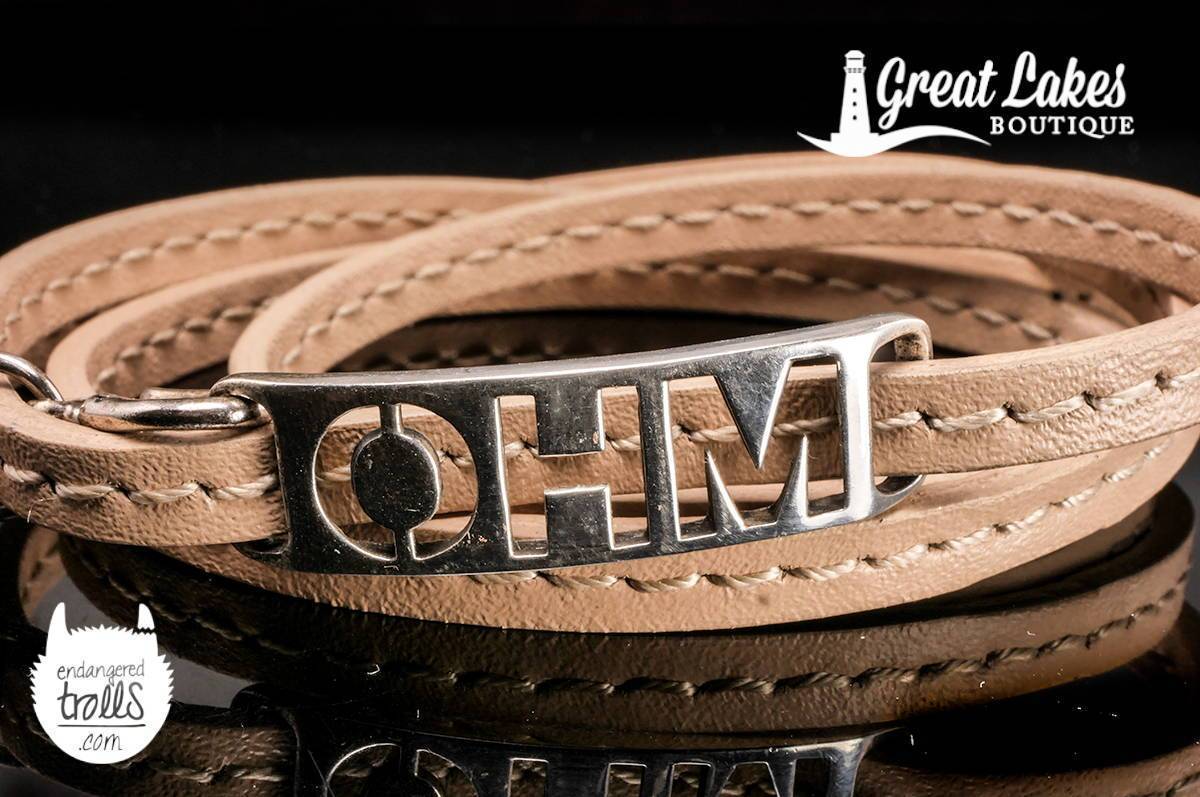
The Ohm Beads Whip Bracelet debuted in the latter half of last year as part of Ohm's new carrier and lock system. For those who want to experiment with the locks without the large investment of the Chunky Bracelet, they're ideal. Price aside leather just gives an entirely different aesthetic to your beads. These bracelets look effortlessly casual for the long, hazy days of summer.
The Whips are now available in four color options; Mocha, Tan, Navy or Brown.
Ohm Beads Whip Bracelet - How To Secure with No Lock
Contrary to popular belief, you don't need a lock to fasten these bracelets though it will make them more secure. One lock-less option is to simply knot them but I've found this to be both bulky and look weird.
Step 1
Thread the leather end through the silver hook. Pull it tight to your wrist at this stage.
Work from back to front as the image to the right shows because you'll want to tuck that end away close to the wrist.
Step 2
Push the leather end back through the metal hoop. (The hoop secures the clasp hook to your bracelet.)
You'll be pushing it back towards the wrist and again pull it comfortably snug.
Step 3
Your bracelet will look like the image to right. Tuck the loose end inside the other strands and close to the wrist.
This bracelet system is more secure the more times you weave the leather around something, so this is the least secure option. That said I've had no issues with it coming loose with normal daily wear.
Ohm Beads Whip Bracelet - How To with a Lock
Currently there's a choice of four locks for the new Ohm Beads Carriers; Who Ohm, Dragon-y, Octopus-y and Chameleon-y.
Though not a necessity, you will find achieving a secure fit much easier with the addition of a lock. (Plus they're just great fun!)
Step 1
Attach your clasp via the silver hook on the end of your bracelet. The diagrams here are for the Who Ohm clasp but the basic principle is the same for all of the locks.
Step 2
The loose leather end needs to thread through the clasp from back to front (so you'll be pushing it inwards towards your wrist.
Step 3
Thread the leather end back out of the clasp, close to wear the silver hook is. This time it's threading out and away from your wrist.
This will mean it's woven along the length of your lock and it's this weaving that creates the tension to secure your bracelet. Tug it tight!
Step 4
Tuck that loose end through the silver hoop that secures your hook to the bracelet. This time it's going back towards the wrist.
When worn the end will be tucked inside the other strands and sit comfortably against your skin.
Ohm Beads Whip Bracelet - How To Secure with a Bead
Some Ohm Beads themselves can be used as a lock to secure the Whip Bracelet. This method works better with the more openwork style designs. The retired Sacred Geohmetry beads were ideal for this
Step 1
Fix the hook to your choice of bead. Pictured here is the Ohm Beads Cube. This works so well because there's a lot of options for threading the leather in and out and again it's this that builds the tension to secure your bracelet.
Step 2
Thread the free end through your bead of choice. This image shows the leather being woven a couple of times as this will make it more secure to your wrist.
Remember to pull it tight.
Step 3
Always end by pushing the leather end through the hoop and back towards your wrist. The loose end should be tucked neatly away against your wrist.
The Ohm Beads Whip Bracelets are quite chunky so they're not compatible with small cored beads. They look great with or without beads and we particularly love them stacked with our favourite Scout Curated Wears Stone Bracelets. (Below is the amazonite which is a great choice of pastel coloring for the season.)
A few notes on leather care..
- Leather will stretch. This can't be avoided without using a nylon core.
- As it stretches, your beads may move around a little more.
- Cutting the end of the bracelet is going to make it more likely to fray.
- Leather doesn't like getting wet. Remove your jewelry before showering or swimming.
- It can be cleaned or treated with specialist products. If doing so, use minimum amounts of water.










Anonymous
June 19, 2019
You’re welcome :) Glad it helped!